Archive for the ‘Midi Series’ Category

Because there needs to be a direct wire connection between MIDI devices, it actually makes this much easier, but you just need to plan ahead a little.  For simple systems, setting up will be a quick foundation for more complex and growing systems.  In the most basic systems, you will have a controller or device that will transmit MIDI to another receiving device that will be able to respond to the MIDI data.  If you only have one controller, trigger or MIDI device, there is nothing to set up.

So we have examples of MIDI-equipped devices that will be the Master in our set up.  Words like ‘Controller,’ ‘Keyboard’, ‘Triggers’, ‘Percussion Pads’, ‘Lighting Boards’ can be translated into the devices we will play or perform on.  Keyboards can be used to trigger drum or trumpet sounds or even light boards……..  Drum Triggers can be used to play loops or sampled sounds.  Keep in mind MIDI will transmit (and/or record) the physical performance to other devices.

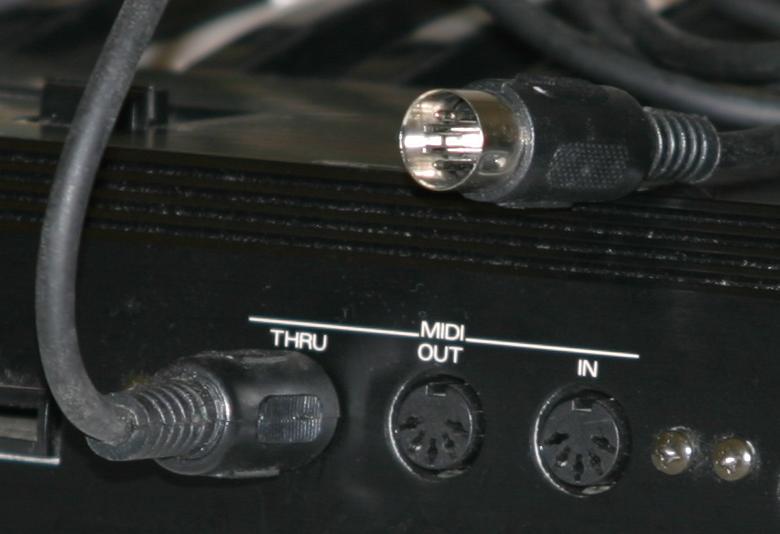
To make sure each device ignores the data going to other devices – yes, remember the 16 channels traveling through each MIDI cable?  Here they come in handy.

If we go back to the basic setup, the Master can be set to transmit MIDI to those possible channels in a number of ways including;

  1. Send No Signal at all (OFF)
  2. Send to any one of the 16 channels
  3. Send to more than one channel

So first, we want the Master to talk to one external MIDI device.  As long as the Master and the receiving device are set to the same channel, the device will respond to information from the selected channel(s).  It is easy to start with channel 1, and many manufacturers will set their default to transmit on channel 1.

There are always exceptions and some become standard features by popularity.  Drum machines were commonly used on channel 10.  So connecting a drum machine or percussion triggers to a ‘drum module‘, use channel 10.

Most MIDI receiver devices will be able to respond to signals in a number of ways including;

  1. No channels (OFF)
  2. Listen to any one channel at a time
  3. Omni – listen to all 16 channels at once

If you have problems getting receiving device to respond, try #3 above.

As we add devices we can +1 on the Master out channel to send to other devices now in the chain of MIDI cables connecting each device as described briefly earlier.  Set each new receiving device to listen to that channel only (in common and standard systems).

Next series let’s go over recording and playing MIDI performances.

Midi_ports_and_cable

I have seen a lot of confusion over the discussion of MIDI.  Many of us know what it is and how to use it, but we keep on learning new ways to take advantage of this amazing communication protocol.  New MIDI equipped products are hitting the market every year, but if you are starting out or curious you probably just want to know what is MIDI really?

The definition is rather simple; Musical Instrument Digital Interface.

It is a way for devices that have the MIDI feature to communicate to other devices that have the same feature.  Typically you will see the following ports on the devices:

IN

OUT

THRU (also an out, put this is a pass-through from an external MIDI device)


These simply let you know where the flow of communication is headed.  These ports and the cables connecting them communicate one-way.  If you want the 1st device to send MIDI data to the 2nd device, connect the OUT from device 1 and connect it to the IN of device 2.  To have the same data from 1st device also sent to a 3rd device, connect the THRU (out) from the 2nd device to the 3rd device’s IN port.


MIDI has set up 16 channels for separate communications within each device.   Now, here is the kicker.  What does it do?


The confusion comes from the idea that MIDI allows you to record or transmit and layer sounds.  Try to think of it this way – MIDI transmits physical activity applied to the device.

It has no sounds.  It makes no noise. 

But if the player or performer plays a keyboard as the 1st device, MIDI will transmit the physical movement of the keyboard …. This can include what key(s) on the keyboard, how fast or hard they were hit, how much pressure was applied to the key(s) while they are held down, how long it was held, if the sustain pedal is pressed, if the modulation wheel is moving and a lot of other information.  When you capture or record the MIDI data of the performance, it will play back those movements.  If the 2nd device is a tone generator or sound module whatever sound is selected will respond to the MIDI ‘performance’.   If you change sounds, the performance will be in the new sound.

If the 1st device is a drum pad or trigger, the same thing applies.  The trigger will send MIDI data detailing which trigger is used, how hard it is hit and in some pad designs it will detect the area of impact and will trigger multiple sounds depending in zone and velocity of the strike.

I will continue the over view later on in this series.